Heimdall - Web dashboard


I've never been a big fan of browser's bookmarks and in fact I have almost none. And, quite logically, I almost never display the favourite bar.
I only visit a few sites on a regular basis and my browser history remembers them; otherwise a famous search engine remembers them for me.
However, I'm not averse to a personalised homepage and I'm quite happy with Heimdall at the moment.
Heimdall is a web application you can self-hosted (and it's a piece of cake using Docker) on your computer.
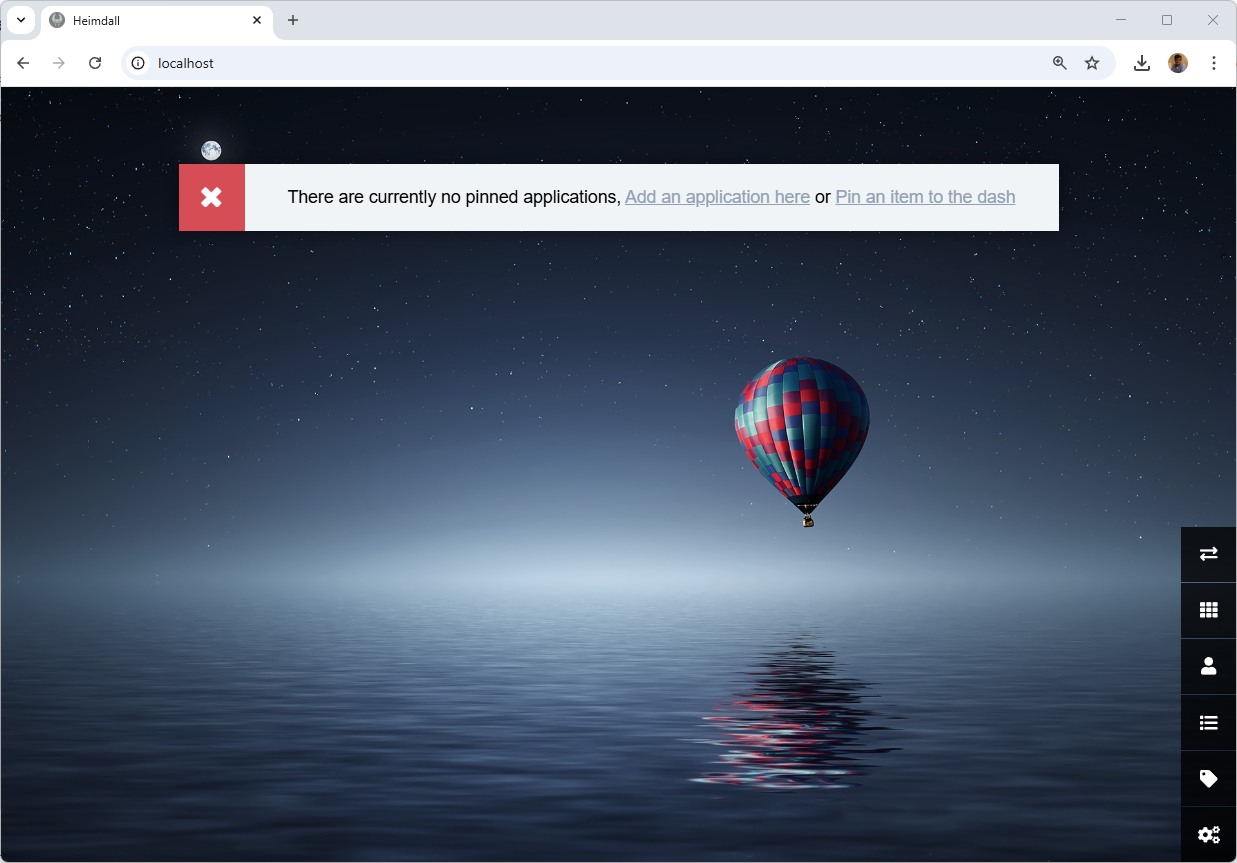
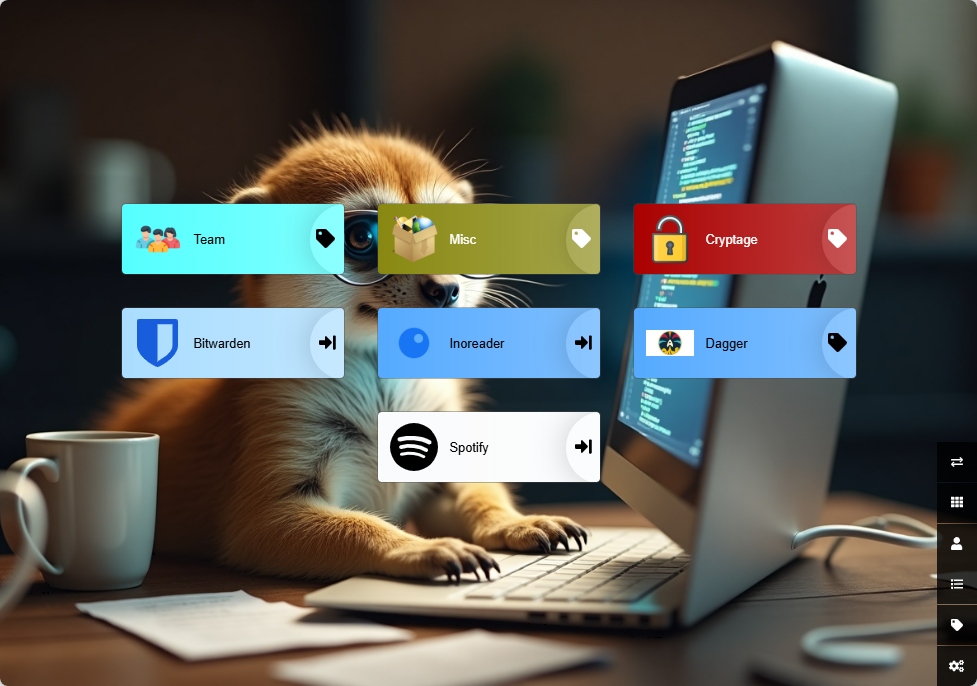
Here is the official demo:
You will define the look&feel of your homepage by specifying which links you want to have immediate access to and, for others, you will classify them according to folders. Nothing too complicated.
But it does give you a much nicer way of accessing your site than the outdated bookmarks management. It's perhaps one of the things that hasn't changed in thirty years.
Creating your dashboard
Please create a dummy folder and jump in it: mkdir /tmp/dashboard && cd $_.
In that folder, please create a file called composer.yaml with the following content (refers to official Docker Hub page for the latest version):
compose.yaml
services:
  heimdall:
    image: lscr.io/linuxserver/heimdall:latest
    container_name: heimdall
    environment:
      - PUID=${USER_ID:-1000}
      - PGID=${GROUP_ID:-1000}
      - TZ=Europe/Brussels
    volumes:
      - ./config:/config
    ports:
      - 80:80
      - 443:443
    restart: unless-stopped
In the code here above, I've preferred the syntax PUID=${USER_ID:-1000} and PGID=${GROUP_ID:-1000} instead of just hardcoding 1000: on my computer, my Linux user id is 1002; not 1000 so I prefer to use a variable and, if the variable isn't defined, then use 1000 as default. Same for the group id.
Running the dashboard
Once the compose.yaml file has been created, just run this command: USER_ID=$(id -u) GROUP_ID=$(id -g) docker compose up --build --detach.
This command will define our two USER_ID and GROUP_ID variables, initialise them to your own values then run the container.
If you've hardcoded IDs in the compose.yaml file to, f.i. 1000 (because you know it's your IDs); then the command becomes shorter: docker compose up --build --detach
First run
Once you've fired the docker compose up --build --detach command, you've already created the container i.e. you can already surf to http://localhost to see it in action.
Let's play, click on the last button bottom right (the settings icon) and under Appearance, let's upload a new background image.
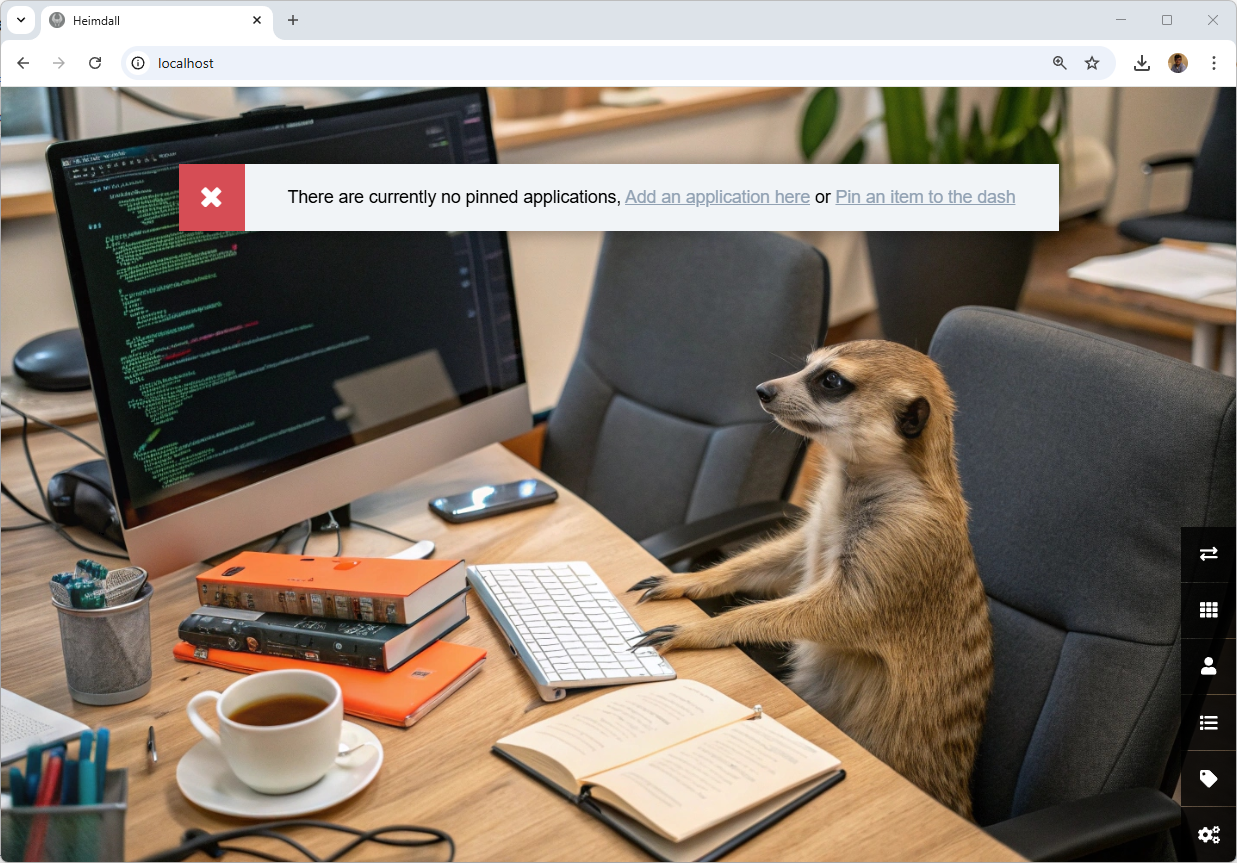
It's a lot more fun, isn't it?
Saving the configuration on disk
Did you've noticed that, in the composer.yaml file there is a section called volumes with the following configuration?
volumes:
  - ./config:/config
It means that the config folder of Heimdall will be stored on your disk; in a folder called config too.
I can check this by running ls -alh on my host:
Permissions Size User       Group      Date Modified    Name
drwxr-xr-x     - christophe christophe 2025-01-26 10:36 config
.rw-r--r--   284 christophe christophe 2025-01-26 10:36 compose.yaml
And, thus, everything I'll do in Heimdall will be saved on my computer. So, it means, if I've to stop and remove the Docker container, by running it again, I'll retrieve all my settings.
Adding some links
I suggest that, before adding new links, first click on the Tags icon (the fifth icons bottom right) because you'll organise your links using tags and you have to create tags before.
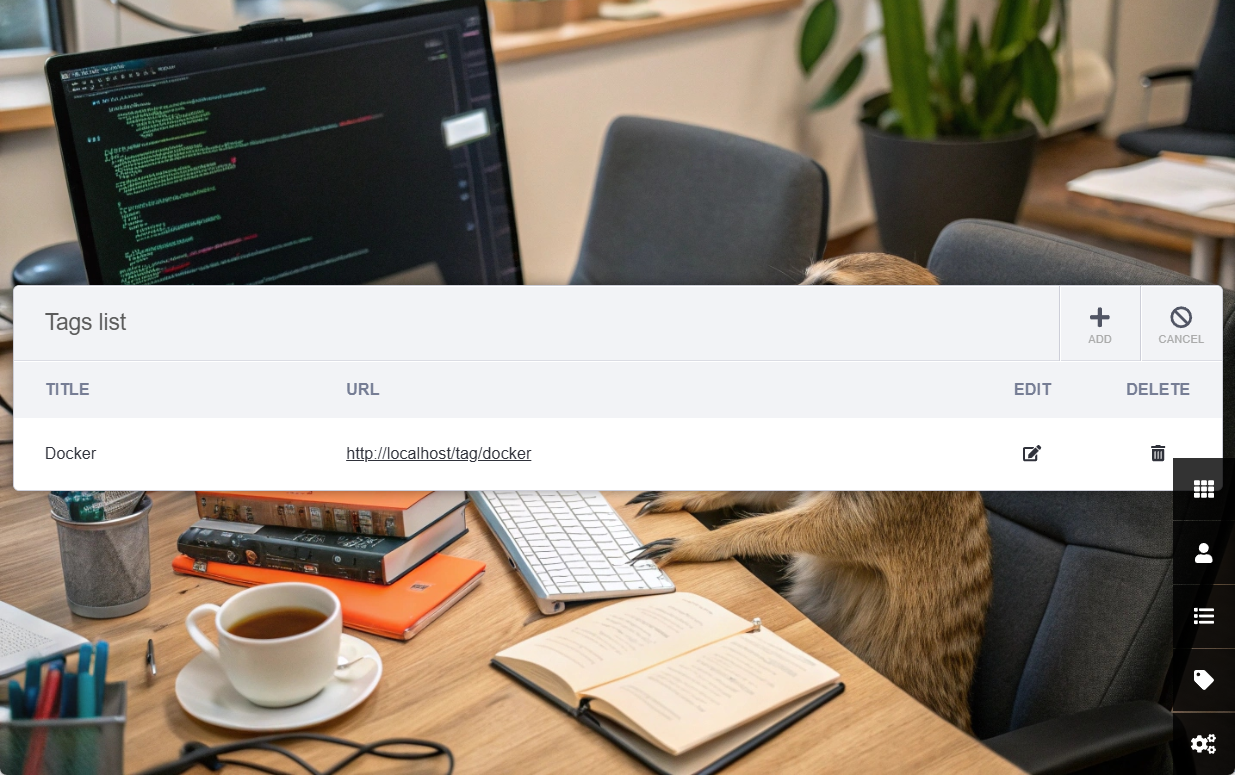
Add so many tags you want. For this tutorial, I'll just create one.
When finished, click on the Cancel button top right or click on the fourth button bottom right (called Application list)
Create a new application. You can choose between an Application type or a Website. In my current use, I always choice Website. I fill then the URL and click on Go.
Heimdall will extract the favicon in different sizes. I click on the one I wish.
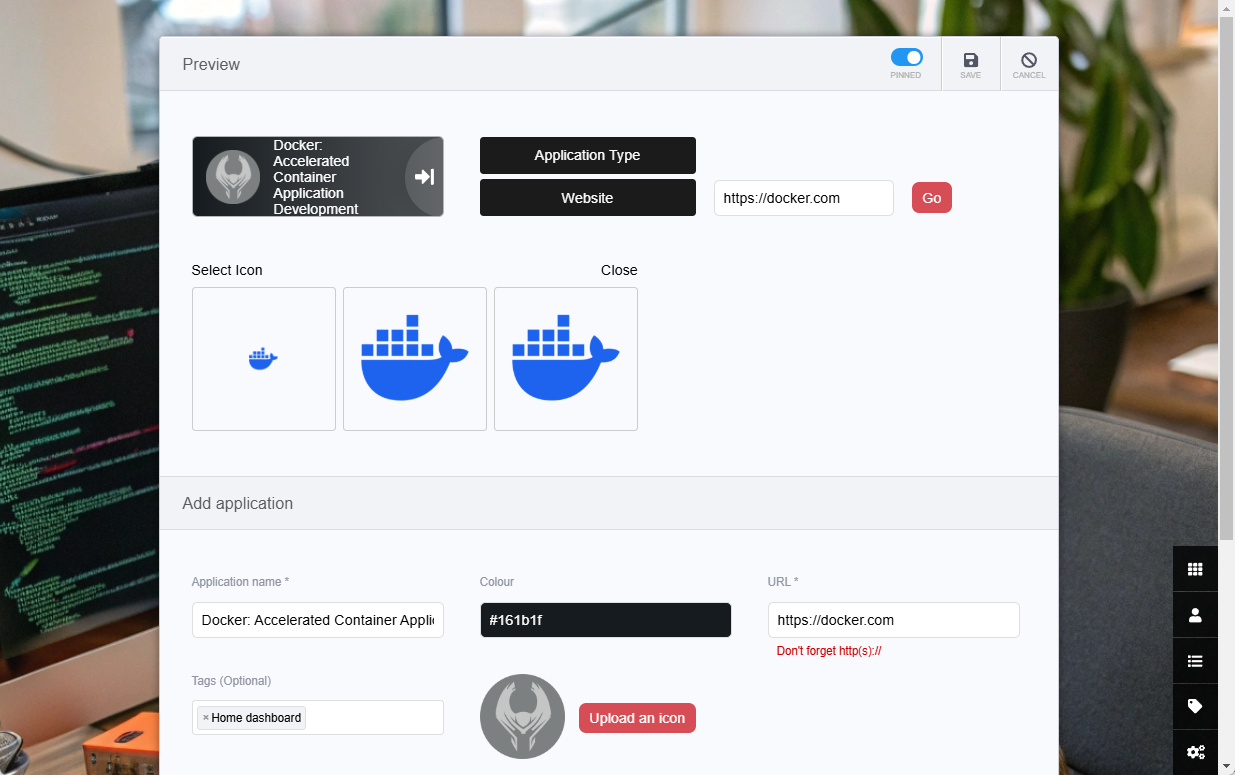
Automatically, Heimdall has filled in some properties in the bottom part of the screen. I'll remove Home dashboard from the Tags area and, instead, type Docker i.e. the tag I've previously created.

Once saved, I'll get my new homepage:
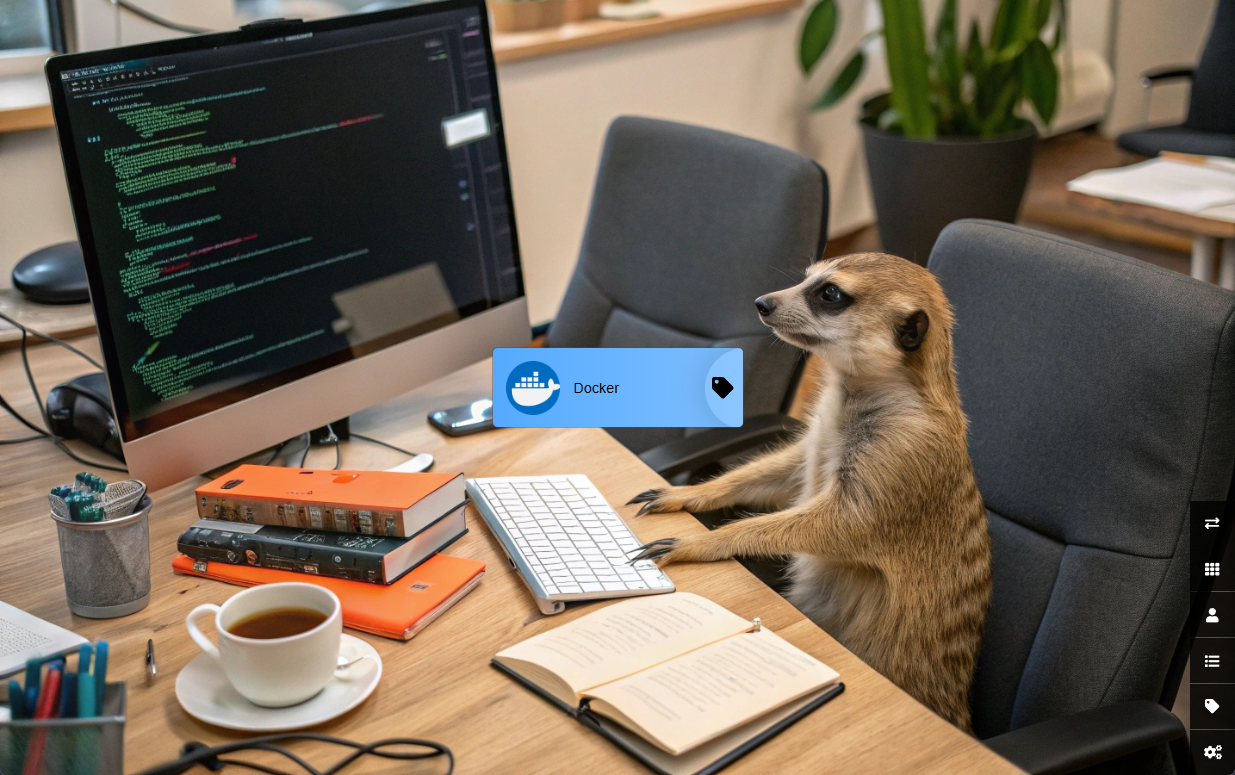
We can see that tags are represented as a folder. If I click on it, I'll enter in the folder and see all applications having this tag.
I can, too, add applications that will appear immediately on the homepage (like shortcuts on your desktop). To do this, create a new application and keep Home dashboard in the list of tags.
Let's explore that Application Type feature:
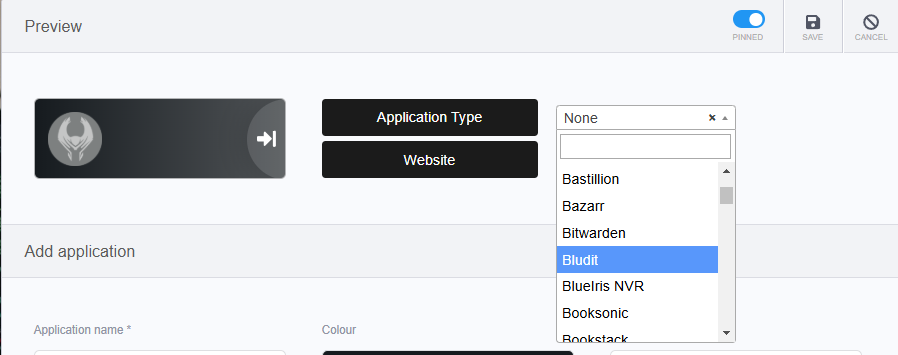
It's just something like a snippet. If I select Bitwarden from there, Heimdall will do basic initialisations; he'll fill in the Application name textbox and the icon. Ok, why not.
I'll point the URL to https://vault.bitwarden.com/#/login and I'll keep Home dashboard as tag.
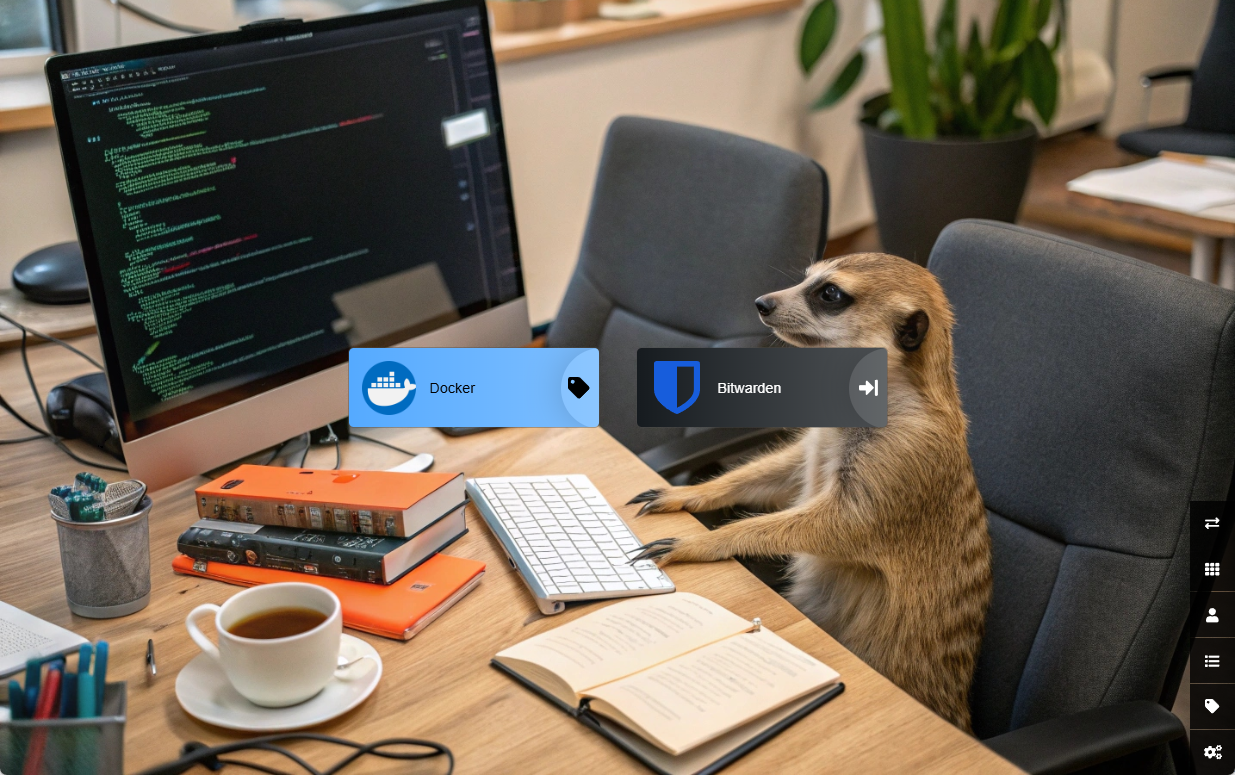
Here is the dashboard I'm using at work. Since it's so easy to add new items; I'm doing changes to it as soon as I'm working on a new project.
More customisations
By clicking on the last icon bottom right, you can customise a few Heimdall. You can display f.i. a search engine which is nice.
You can customise the CSS and add some JS too.
Continue your journey
Visit the official site https://heimdall.site/ to get updates and docs.
Get inspirations by searching dashboard heimdall homepage on Google Search images.